Reasons TPO Roofing is a Popular Choice for Commercial Buildings
Professional commercial roofing contractors recognize numerous advantages that make TPO an excellent option for modern construction and renovation projects.

After securing the roof deck, apply water-resistant underlayment for moisture protection. Install ice and water shields at vulnerable eaves and flashing around chimneys, vents, and valleys to prevent leaks.
Replacing a shingle roof is a significant home improvement project that requires careful planning, skilled execution, and attention to detail. Understanding the process can help homeowners prepare for the project and appreciate the complexity of the work involved. From initial inspection to final cleanup, every step plays a vital role in making a durable, protective roof that will serve well for many years.
The roof replacement process starts with a thorough inspection by a roofing professional. During this assessment, the expert evaluates the roof’s current condition, identifying any underlying issues that may need to be addressed before the new shingles are installed. The inspection may reveal problems with the roof decking, ventilation system, or structural elements that were not visible from the surface.
The roofing professional will also take measurements to determine the amount of materials needed and assess any special requirements.
Once the assessment is complete, the homeowner and roofing professional can discuss material options. Shingles come in various types, colors, and quality levels, each with its benefits and price points. Factors to consider include durability, energy efficiency, aesthetic appeal, and local climate conditions.
In addition to shingles, other materials such as underlayment, flashing, and ventilation components will be needed.
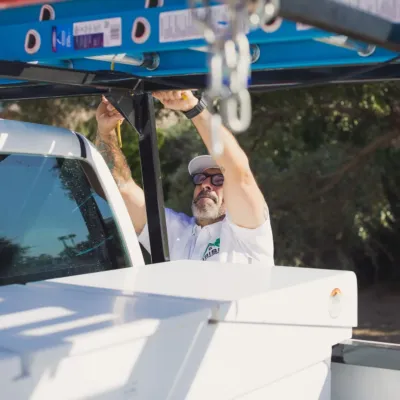
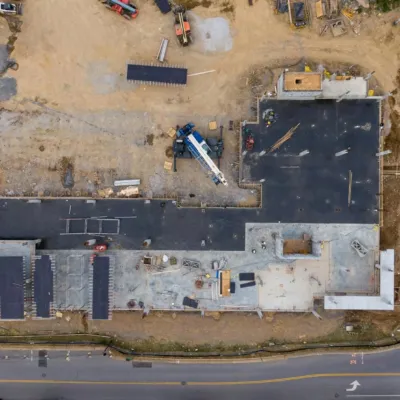
With materials selected, the roofing professional will schedule the project, taking weather forecasts into account to avoid rain or extreme temperatures during the installation. The homeowner should prepare for the project by clearing the driveway and areas around the house to allow for equipment and material delivery.
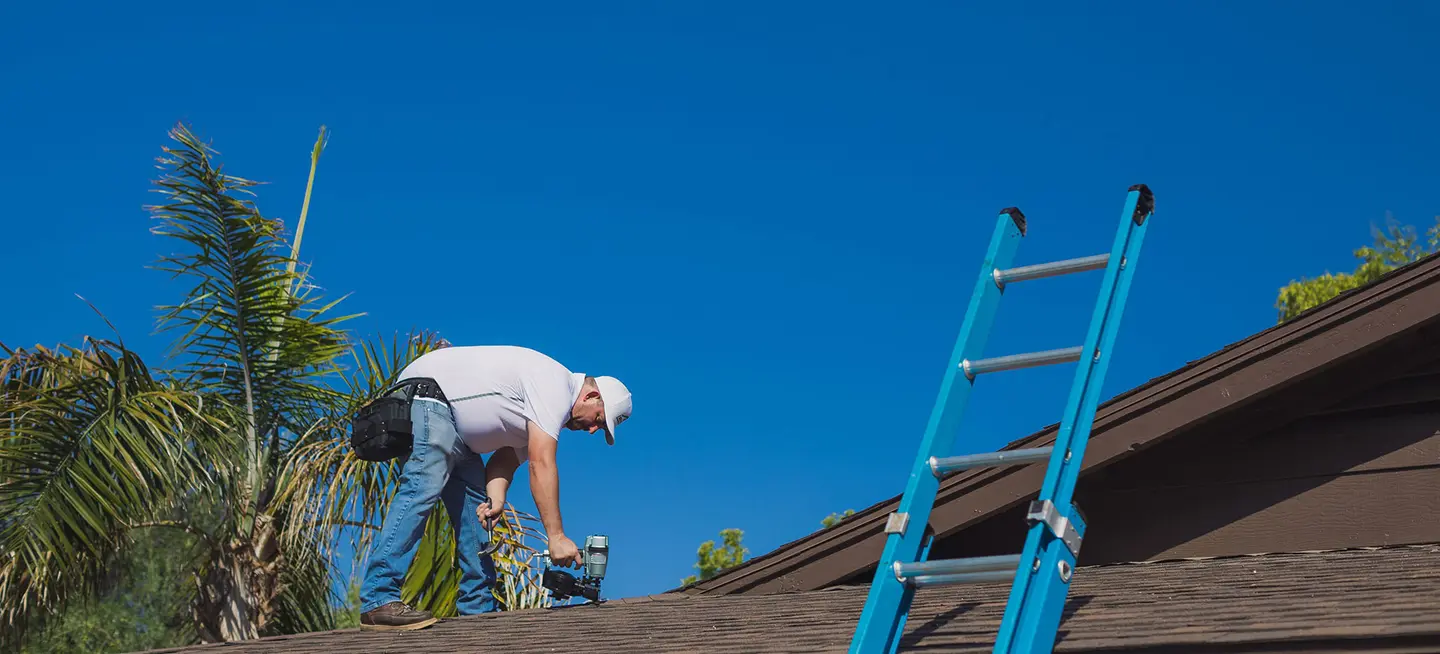
The actual replacement process starts by removing the existing shingles and other roofing materials. This step is crucial as it allows the roofing team to inspect the underlying structure for any damage or rot that may have been hidden.
Once the old materials are removed, the roofing team will inspect the roof deck (the plywood or oriented strand board that forms the foundation of the roof). Any damaged or rotted sections will be replaced to create a solid base for the new roof. Necessary repairs to the underlying structure will also be made at this time.
With a sound roof deck in place, the next step is to install the underlayment. This water-resistant or waterproof layer provides an additional barrier against moisture. An ice and water shield may be installed along the eaves in places prone to ice dams.
Flashing, thin pieces of metal used to direct water away from critical areas are then installed or replaced around chimneys, vents, and valleys where different planes of the roof meet. Proper installation of flashing is crucial for preventing leaks in these vulnerable areas.
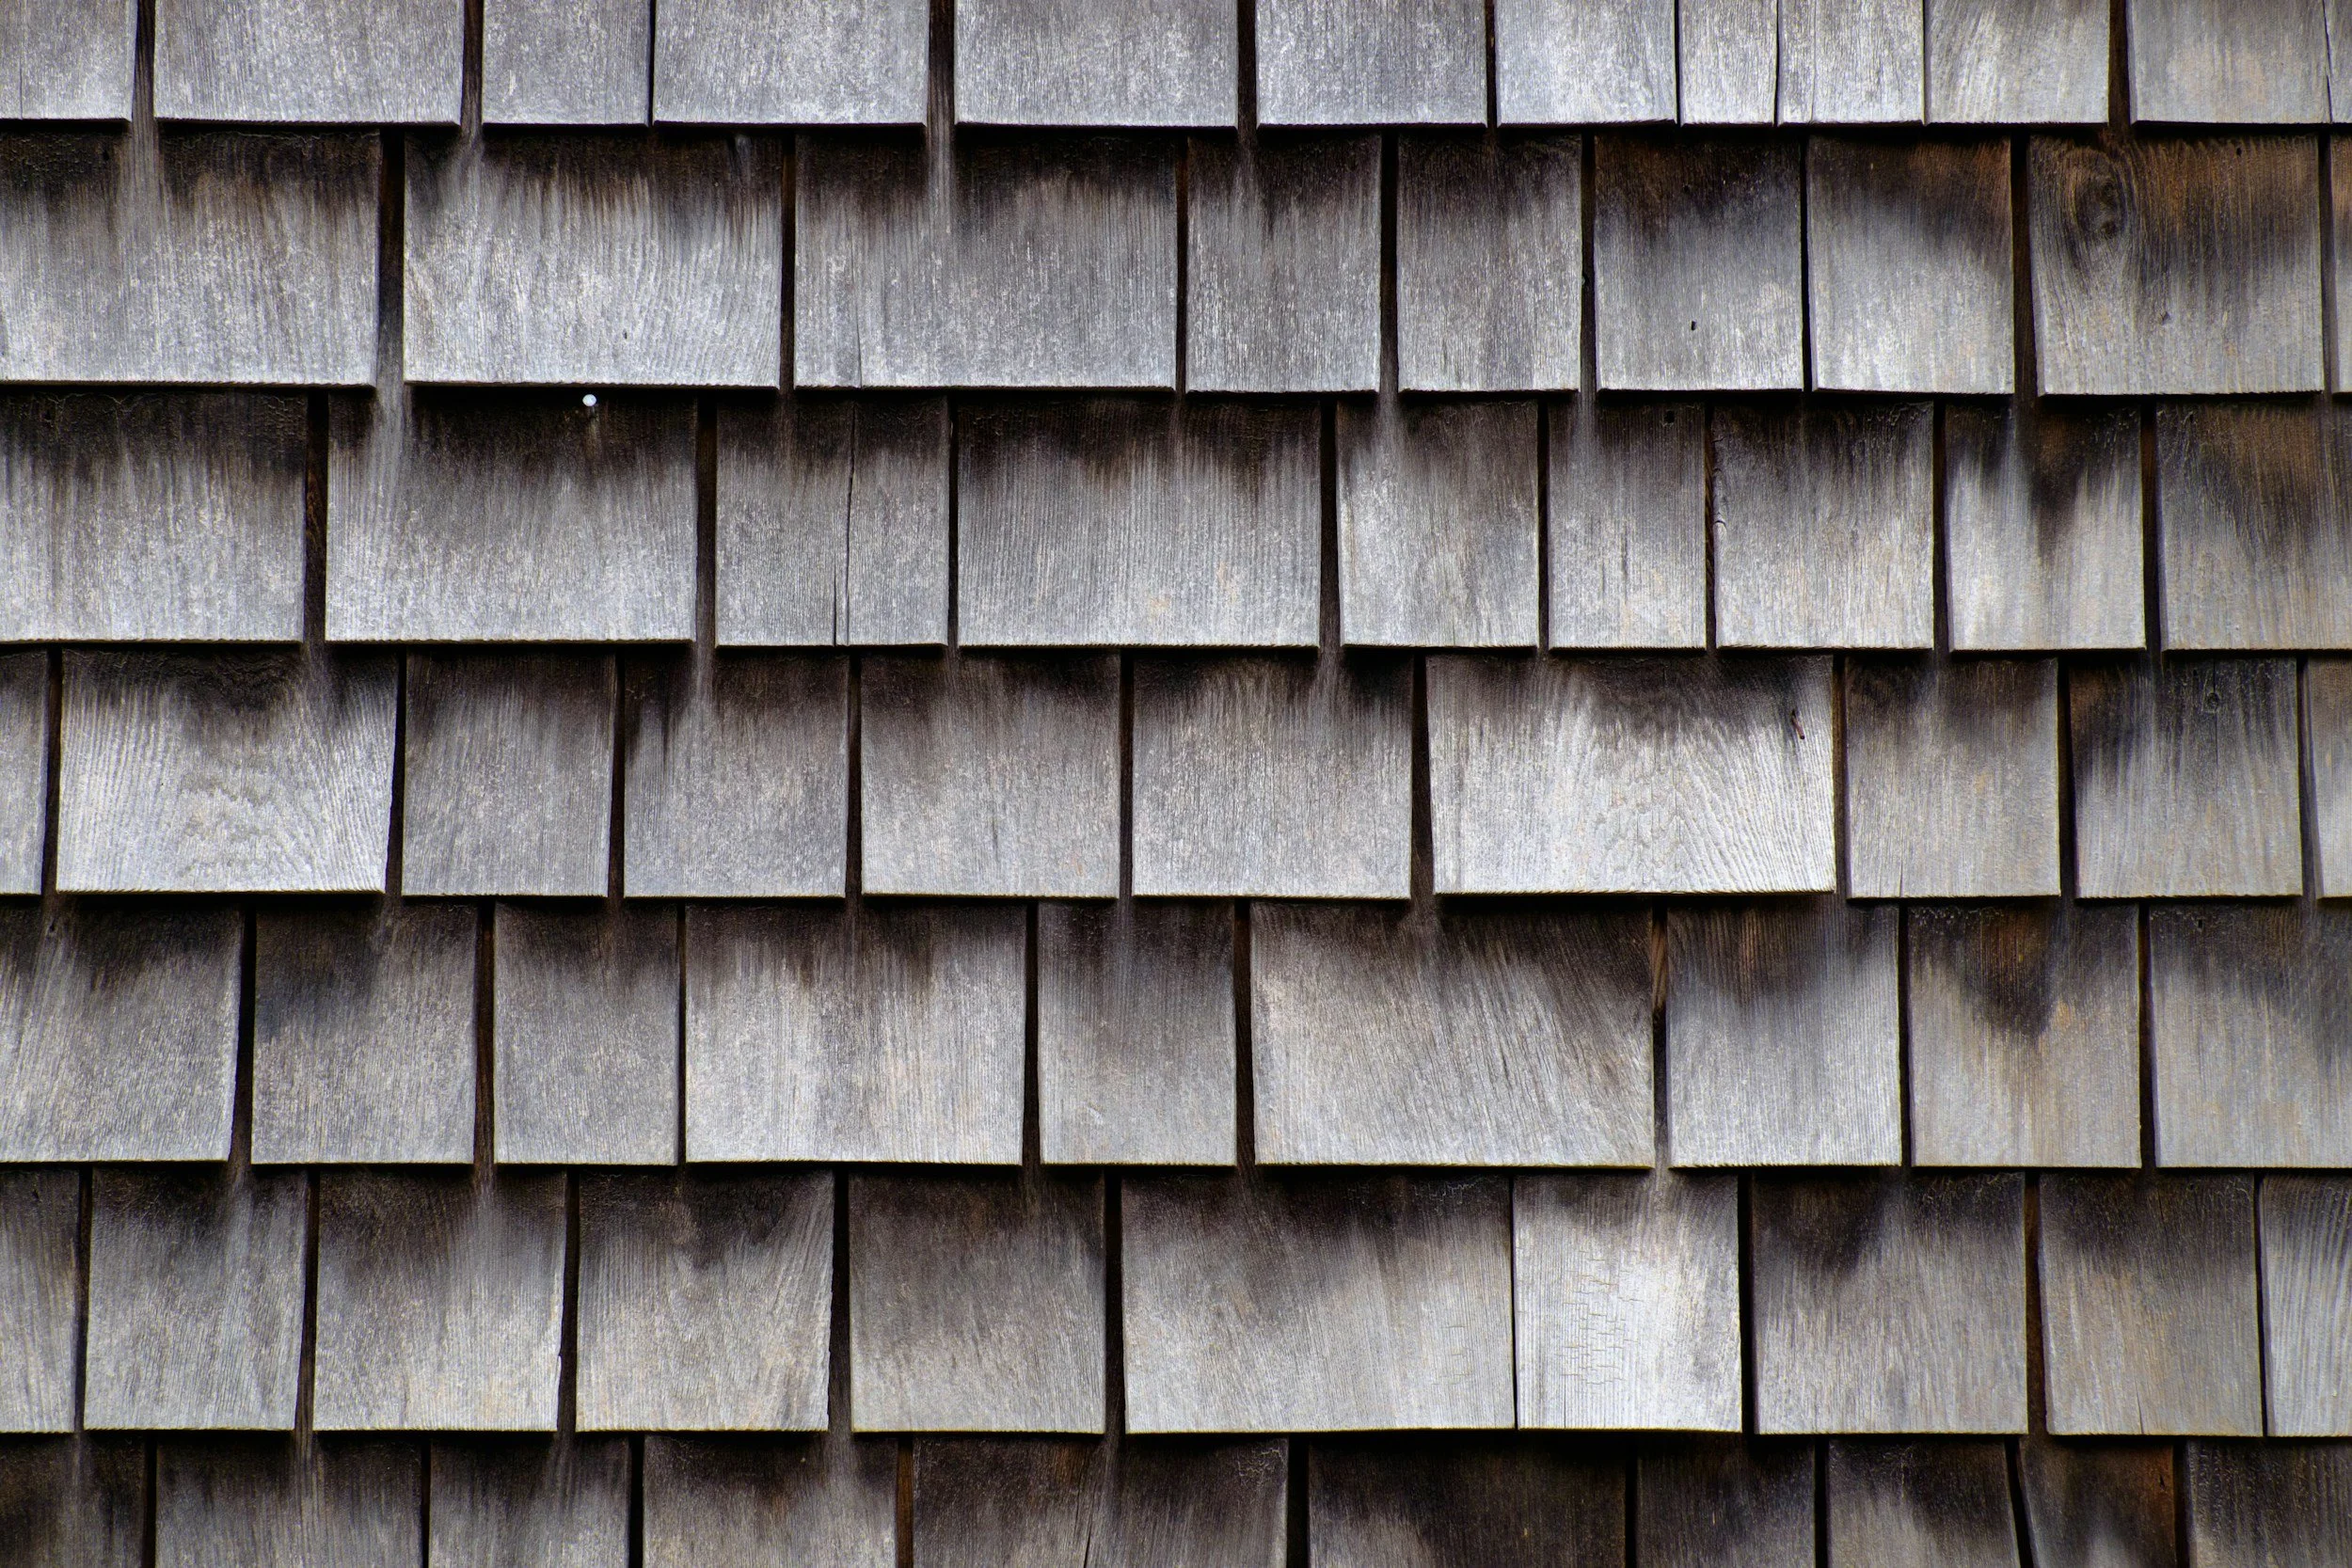
The installation of the new shingles is a methodical process that starts at the bottom edge of the roof and works upward. The first row, or starter strip, is crucial for proper water shedding and wind resistance. Subsequent rows are then installed, with each shingle carefully aligned and nailed in place according to manufacturer specifications.
Special techniques are used around vents, chimneys, and other protrusions to maintain water-tightness. The ridge caps, which cover the peak of the roof, are typically installed last, providing a finished look and additional protection at the roof’s highest points.
Proper attic ventilation is essential for the roof’s lifespan and the home’s energy efficiency. During the roof replacement, the roofing professional may recommend installing or upgrading the ventilation system. This could include ridge vents, soffit vents, or other types of vents designed to allow proper air circulation in the attic space.
After all materials are installed, the roofing professional conducts a thorough inspection of the entire roof to verify proper installation and identify any areas that may need adjustment. This inspection includes checking for proper nail placement, shingle alignment, and the integrity of flashing and sealants.
The final step in the process is a comprehensive cleanup. The roofing team removes all debris from the job site, using magnetic tools to pick up stray nails from the ground. The gutters and downspouts are also inspected to ensure they are clear of any roofing materials.
The process of shingle roof replacement is complex and requires the expertise of professionals to execute properly. From the first inspection to the final cleanup, each step of the process is crucial in creating a roof that not only looks great but also provides long-lasting protection for the home. By understanding this process, homeowners can better appreciate the value of professional installation and the importance of using quality materials.
Irish Roofing Company provides Scottsdale with residential tile roof installation and replacement, shingle roof installation and replacement, metal roof installation and replacement, roof repair, roofing maintenance, and roof inspection services. Count on our uniformed, knowledgeable, and experienced roofers for high-quality roofing solutions.
Professional commercial roofing contractors recognize numerous advantages that make TPO an excellent option for modern construction and renovation projects.
Commercial roofing experts utilize specialized formulations designed for maximum durability in demanding conditions.
Composed of specialized materials designed to protect and enhance roofing systems, these coatings create a seamless, protective layer across roofing surfaces.
We offer solutions for every roof and budget. Call today for a quote. Whether it’s a roof installation, roof repair, or roof maintenance, our team is ready to help.